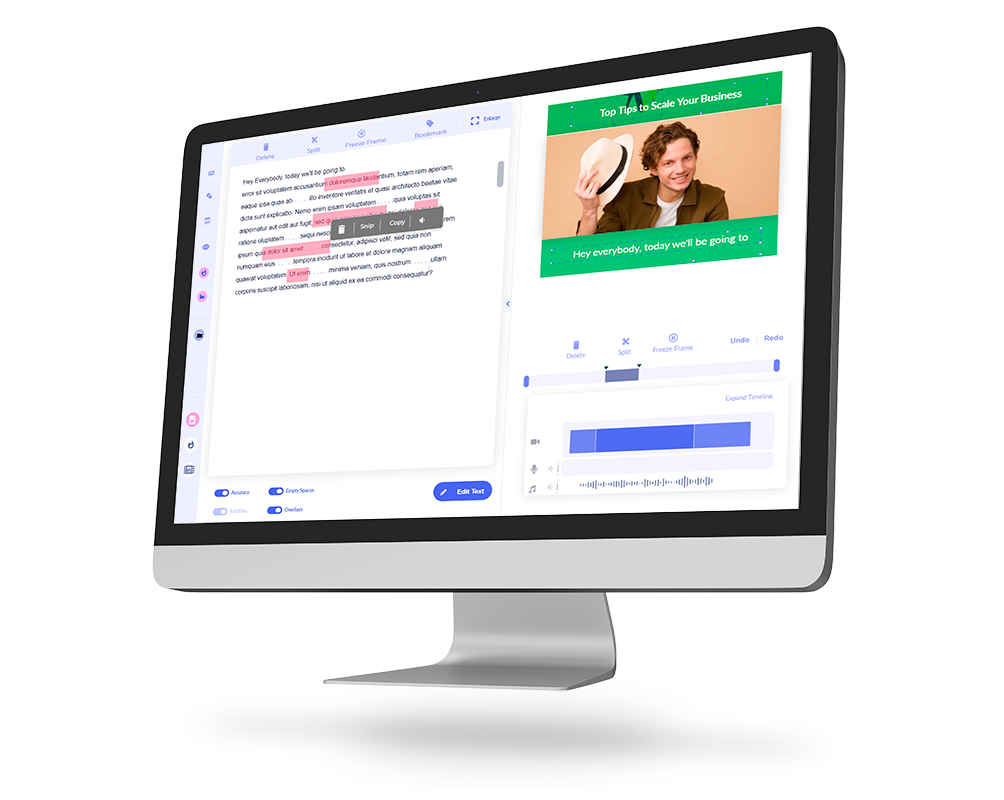
# Imvidu Studio
Imvidu Studio is an online content production tool that lets you:
- Transcribe your videos into text
- Add subtitles automatically
- Style videos and subtitles for social media easily
The subtitle editing feature lets you edit your subtitles easily in case you need to fix or add in more captions.
Subtitles are synced to the audio automatically when the video is converted into text. You can get a bit creative with how you display your subtitles as every word (and pause) has an associated timestamp unlike other.
Imvidu offers a small but free monthly subscription. You can auto-captain and upload upto 2 hours of video per month on the basic plan, which start at around $10USD per month.
Pros of adding subtitles with Imvidu Studio
- Do more than just subtitles
- Extract transcripts as text files
- Burn subtitles onto video or export as SRT files
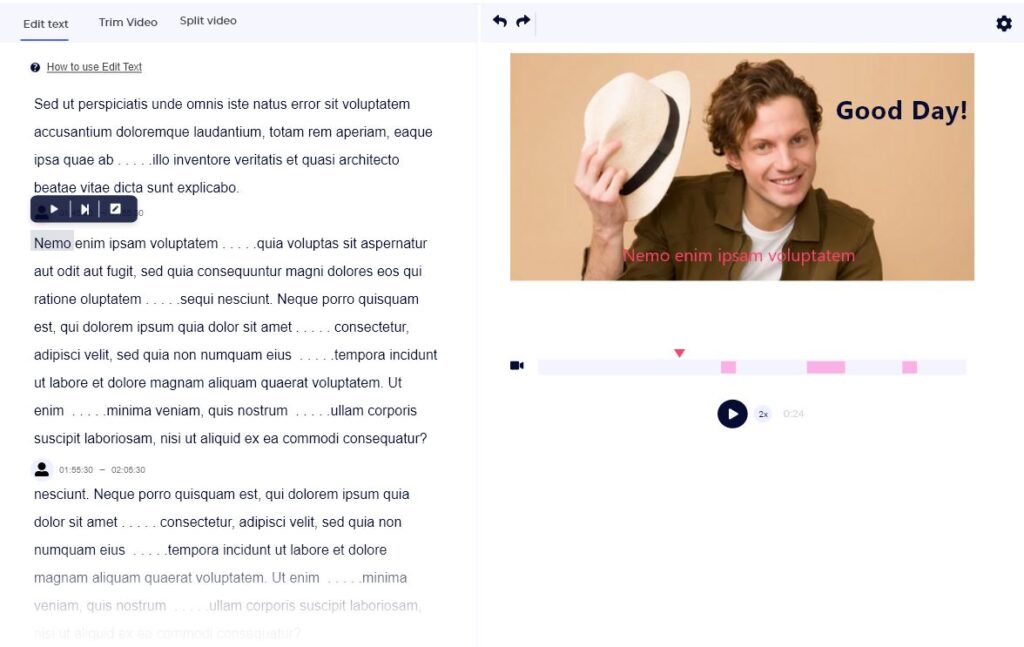
- Easily edit text of the captions – edit like a Word document
- Style subtitles using presets and templates
# Amara
Amara is a reliable tool that will let you add subtitles and captions to videos easily. It doesn’t automatically generate the subtitles. But it provides an intuitive subtitle editing online tool for you to manually add the subtitles easily.
Pros of using Amara for Captioning
The subtitle editor is easy to use, keeping up with the audio and typing is easy because of the interface
- Give you subtitle customization options
- Lets you sync your subtitles with ease
- Lets you export your subtitles in multiple formats
- You will have to upgrade your plan to access some of these additional features.
Amara provides subtitling as a service as well where they hand type captions for you. The benefit of hand generated subtitles is that it saves you a lot of time. It also gives you accurate captions 100% of the time (which auto generated subtitles may or may not offer).
Amara provides hand generated captions in different languages also.
If you’re looking to do captions yourself or provide this as a service to your clients, then using Amara to hand generate captions is a viable and easy option. You can start for free.
# Youtube
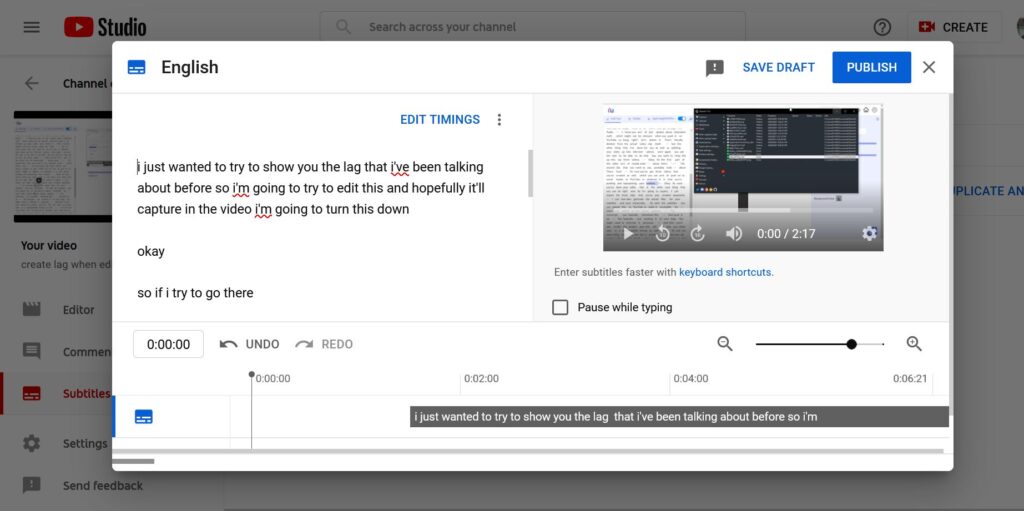
So if you’re posting your videos on YouTube, then you really can’t go past YouTube’s very own captioning feature. When you upload your file (MP4, MOV and most common video files are accepted) YouTube will add captions to the video automatically. To clarify, it will add closed captions automatically for YouTube only. In this case viewers can turn them on or off as they please.
You can extract these subtitles with or without timestamps – go here for a quick overview on how you can get subtitles from YouTube.
YouTube’s subtitle and captioning isn’t a separate tool, instead it’s a feature of YouTube Studio that helps with accessibility. The closed captions are not burnt on the video. That is, if you were to download the video from YouTube, the captions wouldn’t appear on the video itself.
If you want to just convert your speech into text, then here are some tools that let you transcribe your audio and video that you can try for free.
Pros of using YouTube to add subtitles
- It will auto generate subtitles and sync them to your video
- You can copy out the subtitles with or without timestamps
- Seamless subtitle experience – you don’t need to take additional steps to add the captions
- Accuracy rate is high for good quality audio
- You can edit the subtitles once your video is published
The only negative point I would argue is that you can’t style your subtitles. For visual impact, you will have to do that in your video editor. Which means you may have to generate the subtitles before-hand anyway.
The next set of tools will give you more flexibility on how and where to add subtitles or captions – i.e. generate SRTs, burn them on your video, or anything in between.
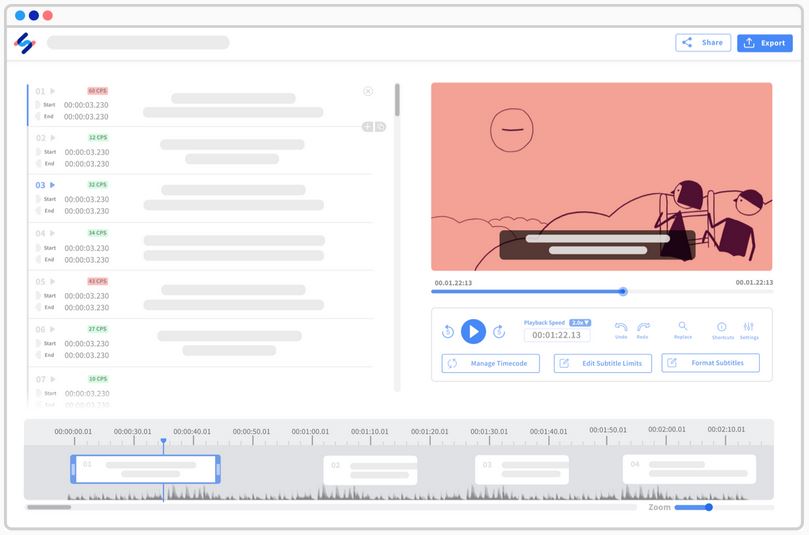
# HappyScribe
Happyscribe is an auto subtitling tool as well as offering a hand generated subtitling service. The tool will convert speech into text automatically helping you add captions to your videos. It uses its own speech to text technology and so offers some nice features which the other tools won’t provide. For example, it picks up multiple speakers and you can add your own vocabulary.
HappyScribe is a cloud based software, so users upload their video, the system adds the subtitles, users can then edit the captions, and finally users can then export the video with the subtitles burn on the video.
You may style the subtitles to suit your brand or marketing.
Unlike some of the other tools mentioned in this list, Happyscribe works on a credit basis. I.e. you purchase credits that give you transcription minutes, your credits don’t expire. At the time of writing this article, they charge approximately 24 cents per minute.
Check out HappyScribe.
#Clipscribe
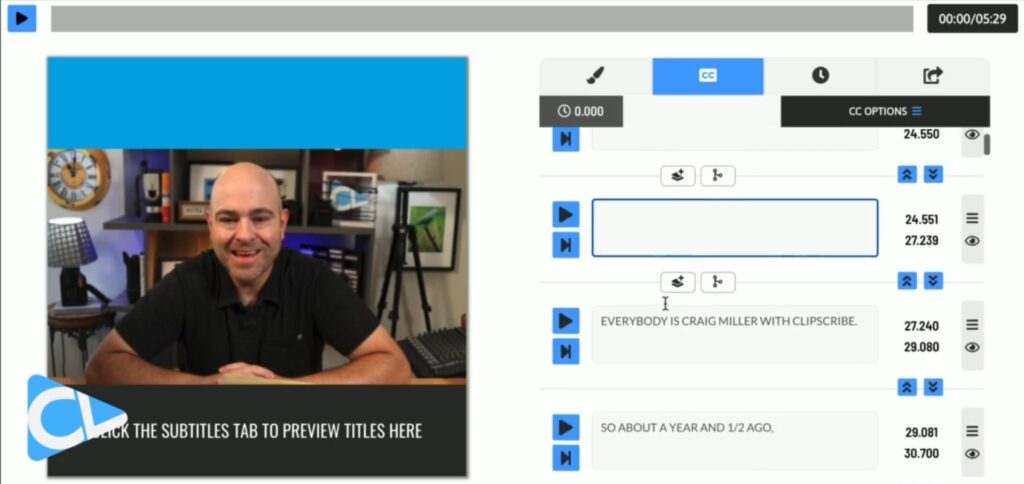
Clipscribe is a cloud based video editing tool that lets you work more creatively with subtitles.
It auto generates subtitles and adds them to your videos automatically. You can edit the text using the editor, helping you control the style, fonts and the words.
You can also edit and resize your videos easily. The tool gives you presets, templates and predefined layouts, helping you easily create video content for social media.
The platform limits your usage by storage caps and upload limits (which is the same as auto transcription minutes). So for example you can upload up to 30 minutes worth of videos on the basic plan which also lets you transcribe up to 30 minutes worth of videos in the month. If your video has no speech that needs transcribing it still counts towards the quota.
Pricing starts at $10 per month when paying monthly. Clipscribe gives you a 7 day trial to test out the subtitles and other editing features. You have to sign up on a paid plan to get started.
Pros of using Clipscribe for Subtitles
- Does more than just subtitles
- Provides easy layouts for text and video
- Export transcript or subtitles
- Unlimited exports
- Watermark Free
Cons
- No free subscription
- Paid plans don’t offer high transcription hours. Basic plan gives only 30 minutes.
- Requires signup to paid plan for trial also
- Doesn’t have multi-speaker or automatic speaker tags
- Transcription minutes count towards upload quota even if your video has no speech
#Premiere Pro
Talking about video editors, Adobe has recently introduced its own speech to text transcription feature in their latest version of Premiere Pro software. Given so many reasons why you need to generate text from your video, Premiere Pro has finally provided a working feature that does this.
Given most videos go through an editing process, it naturally makes sense to have subtitles added at this stage of the workflow.
Premiere Pro lets you add, edit and style subtitles with ease now – without having to type them out yourself. Users just need to ensure they generate at transcript from their video.
The captions are shown in the Transcription and Captions pane, where you can edit the text and edit various options.
The auto subtitling option comes at no additional cost, with the tool. You just need a Premiere Pro paid subscription to access the tool online or offline.
Pros of adding subtitles in Premiere Pro
- Easily add subtitles as part of the video editing production workflow
- No longer need to export video, generate subtitles, then re-import into Premiere Pro
- Transcription tool gives ample features to edit text
- Burn subtitles on the video for visual impact
- Styling options as expected
Transcribe your video in one click with Imvidu. Edit it using text.