Resizing video is useful for various reasons. For example when you want to post your video on different channels. It’s also important and as different cameras and settings produce video clips of various frame sizes and resolutions. Your timeline may have different size clips that you may want to resize to fit the frame.
The truth is that it’s not too hard to do in Adobe Premiere Pro. The challenge is there are multiple ways that resizing can be done in Premiere. Let’s take a look at a few different methods.
- Why should you resize your video?
- Resizing videos for different channels
- What is Adobe Premiere Pro?
- How to Resize Videos on Adobe Premiere Pro
- How to use Adobe Premiere Pro to Resize Videos
- Manual scale
- Set to frame size
- Scale to frame size
- Resize video using the Reframe effect
- How to Crop in Adobe Premiere Pro
- Common questions Users ask about resizing video in Premiere
Why should you resize your video?
Resizing your video is very beneficial when it comes to video editing. There are lots of reasons why you should resize your video. However, you can resize your video using text to modify your video content through Imvidu Studio. Here are the reasons,
Resize to reduce the actual size of the file:
This is a compression process or quality reduction process that allows for the following:
- Reduces data consumption
- Realistic and easy to work with size for social media videos
- Create more space in your device
- Faster processing and editing
Resizing videos for different channels
This is where you alter the actual dimensions of the video. There are currently three common sizes (although you can have a number of other related standards in between):

Landscape: Typically 16:9 for wide screen or 4:3 ratio (not too common now). Common for YouTube, television and monitors.
Square: 1:1 ratio – awesome for social media (Facebook feed, Instagram posts, LinkedIn feed)
Story: 9:16 (vertical mode), which is great for videos on the phone. Common examples include short videos for TikTok, YouTube shorts, Instagram Reels. But story telling in vertical mode is becoming popular no matter which platform you use on social media as it provides a good user experience.
You can either record in these modes – especially when you know exactly where your video will be posted or shared. But if you’re going to be sharing your video on multiple channels then you’ll need to use a video editor to do the job. In this case, we’re talking about Adobe Premiere. Alternatively you could use the Imvidu text based video editor that will let you do the same thing in a few clicks.
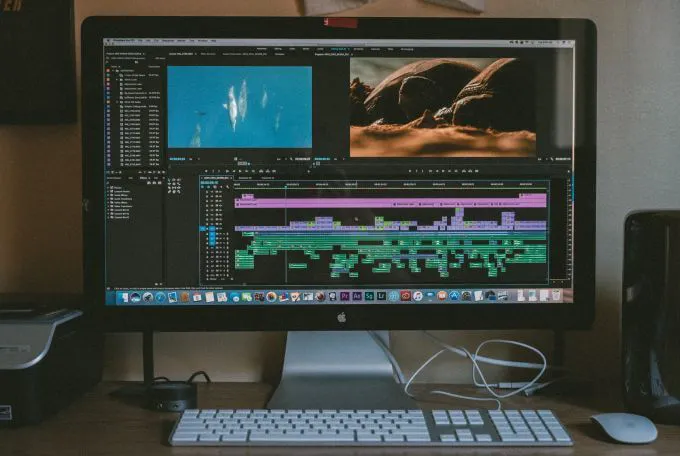
What is Adobe Premiere Pro?
For the complete beginner, Adobe Premiere Pro is an application that is part of the Adobe Creative Cloud software. It is a video editing program used for editing. Whether an amateur or professional, the adobe premiere pro is a suitable and versatile software for editing videos. However, it is primarily targeted towards more advanced users.
Yes, for beginners it’s an amazing tool to use, but just be mindful that if you’re doing basic video editing, like you can do in iMovie, but don’ t have time to learn the in’s and out’s of video editing – then it can be over kill for your needs.
For simple resizing where you put your video in, select a size and output the video, you’re better off with something like Imvidu Studio. There you can resize your videos for social media, YouTube and even story mode in a few clicks.
Pros and cons of resizing video in Adobe Premiere Pro
Adobe Premiere Pro is a brilliant for video editing. It lets you work in any quality and output videos to any quality or popular format. Although it’s regarded as a video editing tool for amateur or professionals as it’s versatile.
Should you use Premiere Pro to resize videos? Here are some pros and cons of doing so, but firstly, if you’re a beginner take a look at this example and decide for yourself:
If you have particular kind of videos, consider some alternatives for those:
- Editing vlogs and talking head videos
- Using an editor that makes it easy to edit video podcasts
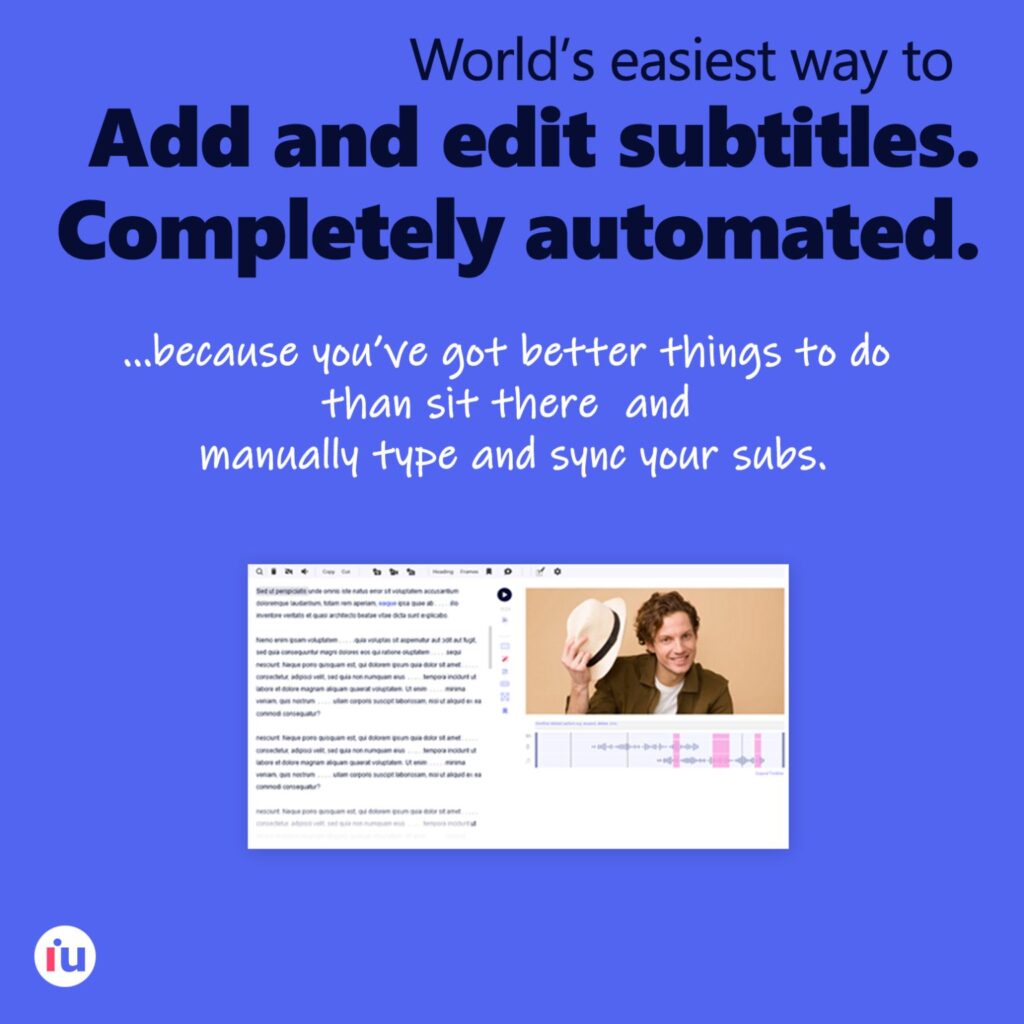
- Use an editor that let’s you generate and add subtitles easily
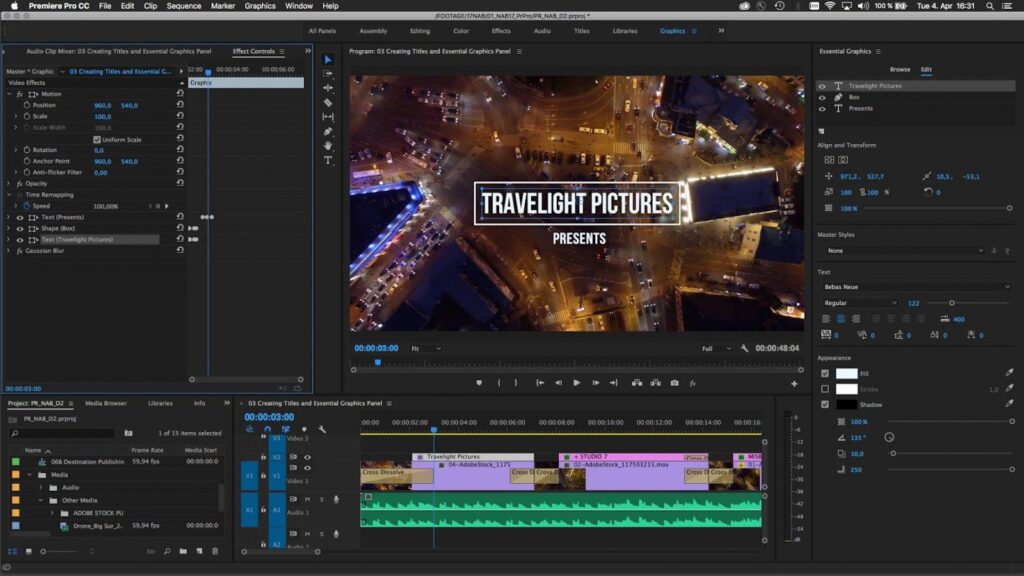
How to Resize Videos on Adobe Premiere Pro
Before you get to know more about resizing video, it’s important to know about scale to frame size and set to frame size. Naturally, frame size is very important if you want to resize your clip.
What is scale to frame size?
This automatically scales the image to fit entirely within the frame size of the sequence, and, at the same time, sets Effect Controls > Motion > Scale to 100%.
This is the best option when you are dealing with different frame sizes, but don’t intend to scale anything later. I don’t recommend using this option because you don’t know how much the image was scaled.
For example, if you use this on an image that’s double the width of the sequence, you end up with an image that’s ¼ of the original pixel size, while the Scale will be set to 100%.
What is set to frame size?
This automatically scales an image to fit entirely within the frame size of the sequence, and, at the same time, sets Effect Controls > Motion > Scale to reflect the amount the image was scaled.
If the aspect ratio does not match, the image will have black bars around the image. If the image is smaller than the sequence, the image may appear blurry. This is my recommended choice when dealing with different frame sizes for most edits and want the ability to scale the images later.
The Set to Frame Size option, doesn’t resample the image, but instead set Scale in the Effect Controls panel to whatever it needs to be to fit the image inside the frame.
Use this method if you can afford more processing power, as it doesn’t degrade the quality of the image.
How to use Adobe Premiere Pro to Resize Videos
There are multiple ways to resize your video, either bigger or smaller. We’ll go through three ways to successfully resizing in Premiere.
Manual scale
This method is simple, and it’s mainly used to scale, preserving the same aspect ratio.
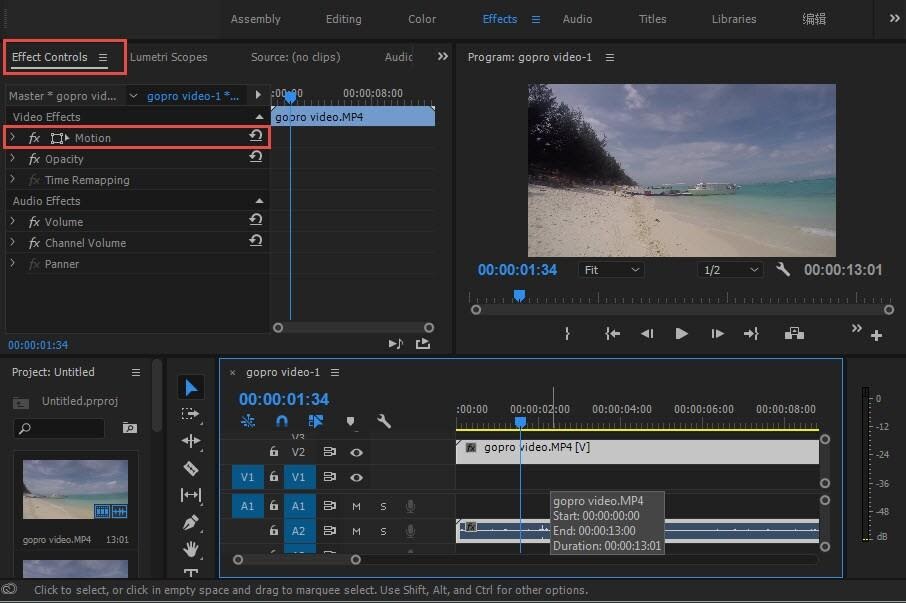
- Once you’re in Premiere, click on effects workspace
- On the effect control panel, find the motion drop down bar
- Then click on the scale option to use the slider to select the new size of the video.

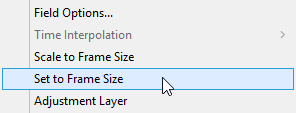
Set to frame size
Using the set to frame size method is best, especially when dealing with various video clips from multiple sources.
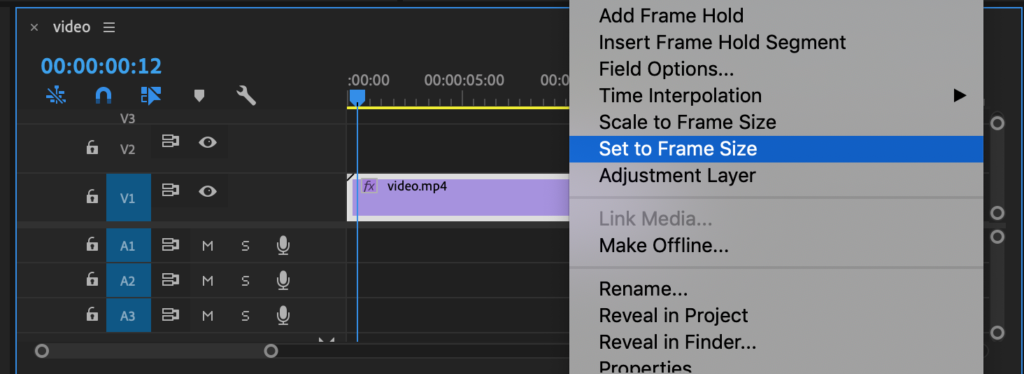
- First, select the video from the timeline
- Right-click on the video clip, following the sequence you want to resize
- From the drop down menu that appears, click on set to frame. The video clip should instantly will change the size to match your sequence setting.
Doing the resize in Premiere using set to frame has a key disadvantage as you will have to perform the resize one by one for each video clip.
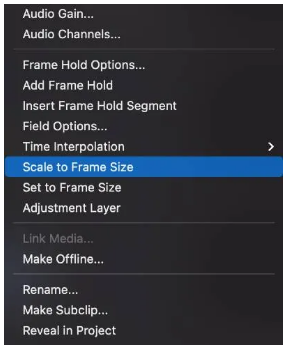
Scale to frame size
This may reduces the quality of a video clip. Nevertheless, it is the fastest method if you want to resize the video clip.
- Select the video you want to adjust from your timeline
- Click on scale to frame and set the scale you want
- It automatically changes the size of the video to match the existing sequence.
Resize video using the Reframe effect
You can quickly switch a video size to another aspect ratio easily by using the Transform function (auto reframing tool).
The auto re-frame is a recent feature on adobe premiere pro that keeps track of movement in a video and optimizes it for social media applications automatically.
- Choose Video Effects > Transform.
- Drag the Auto Reframe effect to the clip you want to resize.
- You need to select a motion preset from the panel.
- Select one of the motion presets from the Effect Controls panel (Slower Motion, Faster Motion, Auto)
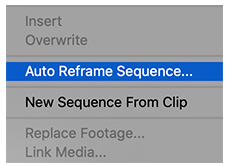
Alternatively, you can do this too:
- Locate the sequence and right-click

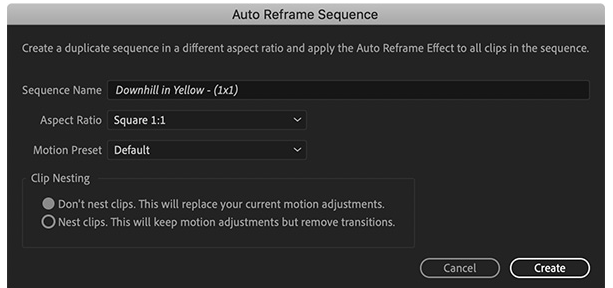
- From the drop box, locate the auto re-frame sequence and click.
- You will see a dialogue box. Choose from the available ratio or input a specific aspect ratio.
Resize videos for social media. Fast.
* Like it or hate it, this call-to-action is a shameless plug of our own tool. Seriously though, you should try it out at least.
How to Crop in Adobe Premiere Pro
See this guide to find out How to Crop Video in Premiere Pro.
How to rotate in Adobe Premiere
To rotate any video, you import into adobe premiere pro is not tricky—irrespective of your device, whether it is Mac or Windows. So here is an easy way to go about it.
- Import the video you want to rotate
- Check the project panel, and the video will be there. Then add your video to the timeline panel
- While the video is at the timeline panel, select the video
- Locate the motion drop down in the effect control tab and click it.
- It will show a rotation drop down. Then you can input the angle of rotation you like, e.g., 75 degrees.
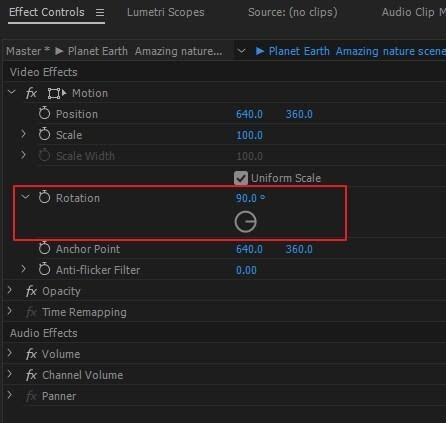
Additional tip: The process on how to rotate a video is similar to flipping. In a situation where you want to flip a video, all you have to do is go back to the effect control tab. Among the tabs, you will see distort drop down. Click on the distort drop down, then double click on transform from the drop down menu. After that, you will see the uniform scale checkbox. Untick it. Immediately that is done, you can change the scale number to flip your video in any direction.
Common questions Users ask about resizing video in Premiere
- How can I create a shortcut on my keyboard to resize the video?
You can create create shortcuts on your keyboard through the Keyboard shortcuts menu item.
For example, go to the search bar and search for set to frame. When the option appears, double-click in the empty box. You can now input whatever command or key to be used for this particular function.
- What is the easiest way to resize videos?
The easiest and most effective way depends on what you’re trying to achieve. All methods to resize video are equally effective. Set to frame option in Premiere to resize is useful when you want to scale based on frame sizes etc. But using the Auto reframe is optimal if you want to change between aspect ratios.
- Why can’t I import some Apple MOV videos in Premiere pro for resizing?
Firstly, make sure you Premiere Pro version is up to date. Secondly,make sure your video is not corrupt. Ensure it is working by playing it on any media player.
- Can you record in Adobe Premiere Pro?
You can record voice overs and audio in Premiere Pro. However you cannot record video. There are different and better tools for recording – even something like Zoom to record videos is a great alternative and you can start for free.