We went through the basics on how to add text in Davinci. In this tutorial we’ll take it up a notch and show you how to animate text in Davinci Resolve 17! As you know Resolve is a mighty powerful video editing tool. When it comes to adding text, it will let you do almost anything you can think off. Seen it in a movie? You can probably do it in Davinci.
For the animations, we’ll use the Text+ block as it gives us some (juicy) features. If you need to see how to do the basics, revisit the tutorial on adding text in Resolve first.
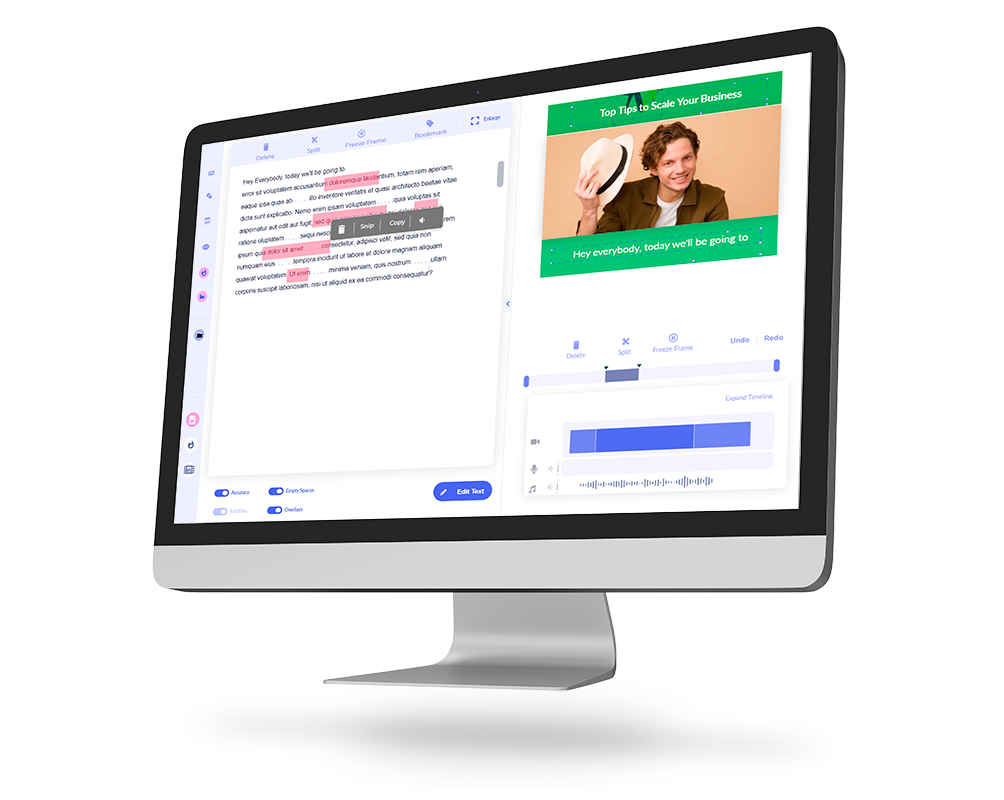
Need an easy way to add animated text to your videos? Add Amazing Text to Videos Online using Imvidu
Go ahead and drag the Text+ block to your timeline.
Open up the inspector.
Pick a nice simple but elegant typeface such as Montserrat. Go ahead and tweak any other basics like size, color and background.
For this tutorial, let’s do a simple but smooth zoom in effect.
TIP
You can apply this effect to other objects and layers and not just text!
While you are in the edit page of your Resolve project, and in the Inspector panel, scroll down to where it says Dynamic zoom.
Boom. Simple. Play your video back and notice the nice zoom effect that’s applied.
Pros of using animate text this way:
- Elegant animation
- Non-intrusive
- Doesn’t try and grab the users attention
BUT, let’s assume you want to take it up a notch.
How to do advanced text animations in Resolve
Select the Text clip in the timeline again and go into the Title controls in the inspector.
Now we can change the text over time using the keyframe controls.
Notice the little diamonds on the right of the controls.
TIP
Keyframes let you specify what something looks at different points in the timeline of the clip. Resolve will then animate or transition the clip from the first point to the next and to the next, so forth.
The beauty of doing key frames in Davinci Resolve is, you can apply different keyframes to almost each little property. For example, you can apply one set of keyframes to size, while applying different keyframes to colour. This way, both the size and colour will animate independently of each other.
So, let’s play with the tracking and define keyframes around that.
Click the little diamond right next to the ‘tracking’ control so that it turns red.
This will be the starting of the animation sequence (for tracking).
Now, move the play head in the timeline to the last frame of the text clip.
Back in the inspector, change the tracking to a different number.
It will turn the little diamond red again, setting the next keyframe automatically.
How to do typing text animation in Davinci Resolve
Let’s get a bit more fancy shmancy with our text.
First, if you followed the above, reset the keyframes and settings, or start with a new Text+ block.
Once you’re ready to go:
Select your text clip, go into the Title controls in the inspector.
Scroll all the way down on the first tab to a property called Write On.
Move the starting or ending dots inwards, this will Write the text ‘on’ or if you drag the end inwards, it will take the characters off the end.
To create the animation effect:
Make sure you’re at the start of your text clip in the timeline and create a keyframe.
Set the Write On end point all the way to zero.
Transition the play head a few seconds into the clip.
Set the Write On end point all the way to the right. This will also set the second keyframe automatically.
Go ahead and play your video back. Voila!
How to animate individual characters in Resolve
Finally, let’s animate the individual characters in the words themselves.
Go into the Transform Tab.
Make sure the Transform is ‘Characters’.
Now for example change the rotation transform controls.
Set a keyframe at the start of the text clip.
Rotate the characters at this point slightly (experiment with x, y, z rotation). In our example we’ll do a simple Y rotation.
Now move the play head a few seconds in. Set another keyframe by applying a rotation to the opposite direction.
Done!
Now play your video back and marvel at the amazing text animation you just created.
Now if you want to be more fancy pants, then you can jump over into the fusion page and go crazy. But that’s for another day.
Add text to your video in one click with Imvidu.