This guide is for people that are editing videos and adding subtitles to videos. (This is not for adding subtitles to movies when you’re watching them).
Firstly, it’s a rejoice because it’s now possible to automatically add subtitles to videos – so let’s take a moment to appreciate this!
In this post we will go through two ways to do this.
#1 First method: we’ll explain how to add subtitles automatically to videos and do it all online – without any software.
#2 Second method, will show you how to use auto subtitles on most offline video editors.
There are in fact few ways to auto-add subtitles to your videos. So, if you have a preferred tool, click the relevant guide below:
- How to auto add subtitles to any video editing tool
- Auto add subtitles to videos online
- Add subtitles to Adobe Premiere Pro
- Using subtitle generator for Davinci Resolve
- Add subtitles to Windows Video Editor
- How to add subtitles to videos on iMovie
How to auto add subtitles to your videos online
You can use the Imvidu Studio to automatically add subtitles easily. In fact you can do this in a couple of clicks and start for free.
Upload Video
Drag and drop your media file. The platform takes .MP4, .Avi, .Mov, .Mpeg and most popular video file types
Auto Generate
The system will convert speech to text automatically. Subtitles add automatically also based on the text.
Fix and Style Subtitles
You can style the subtitles any way you like.
Export Video
This is a feature block that you can use to highlight features.
# Auto generate subtitles
This is an important step as it will convert all speech into text in your video. The time taken to generate the text depends on the length of your video.
This usually takes 30-50% of the time of your video. For example, if your video is 10 minutes long, it should take roughly 3 minutes to generate text.
# Edit the text
The quality of the subtitles generated will depend on the quality of the audio. So, a crisp audio with well spoken speech should have a high accuracy rate and get close to 95% accuracy.
You may have to fix few minor typos or errors in how the speech is detected.
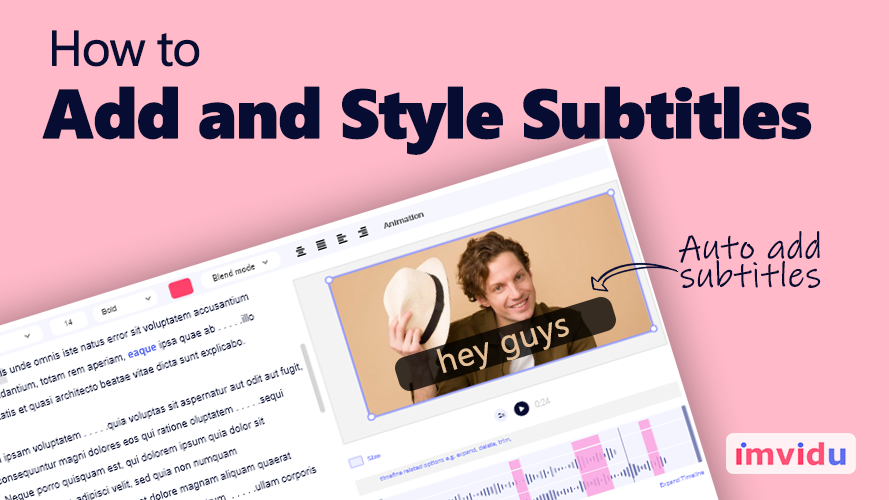
# Styling subtitles
This is the fun part. You can actually make a strong impact and enhance your video through text on the video. Rather than static text though, subtitles alonge can be used creatively to enhance this experience for your viewers.
In Imvidu, select the font, size, and style of your subtitles to reflect the theme of your video or your brand.
Need the step by step tutorial on adding subtitles in Imvidu? Click here.
# Finally, exporting your video
You have two options for the subtitles.
- Add them to your video
- Export the subtitles them selves as a text file
What’s the difference?
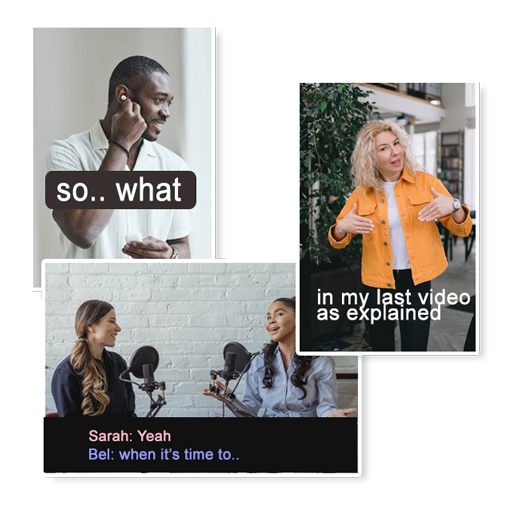
Adding the subtitles to video means they will be hard-coded (overlay permanently) on your video. This is useful if you want the subtitles to show (styled or simple text) on your video no matter where you upload the video file. See example below.
This is especially useful for social media – where it’s recommended that you add subtitles for a number of reasons.
Automatically add subtitles to your videos. No more typing them out manually.
How to auto add subtitles to offline video editors
So most video editors don’t generate the subtitles for you. But you can still simplify the process so it’s easier. Once again, will use Imvidu Studio to do this. However it requires you to follow a similar process as above.
- Upload video into Imvidu Studio
- Generate speech to text
- Export subtitle file (.srt)
- Insert subtitle file into your video editing software
This assumes that your video editing software accepts .srt files. Most video editing tools do!
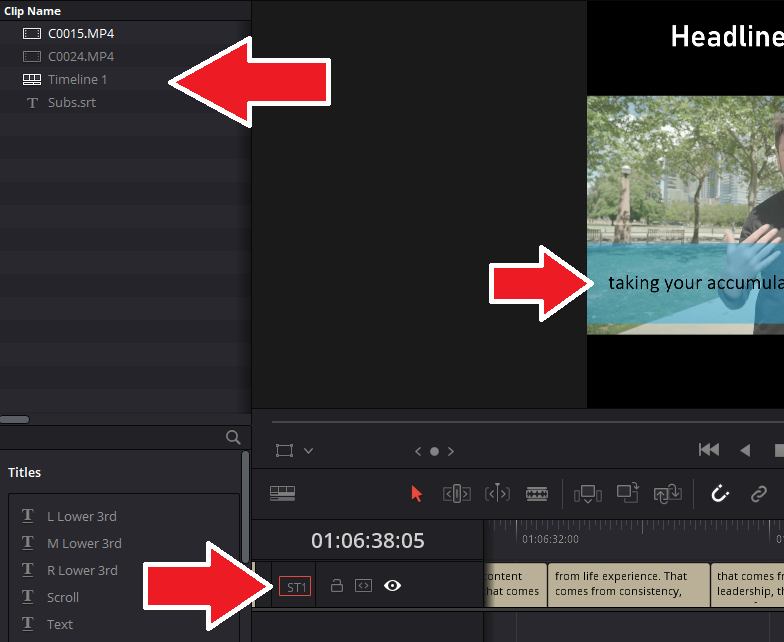
The below image shows the how subtitles are added to Davinci Resolve video editor. As you can see in the top arrow, the subtitle file (Subs.srt) is in the media files.
Secondly, it shows the file has been dragged and dropped into the timeline. Once the subtitles are added to the timeline, they will add to the video as shown by the arrow pointing to the video.
You can edit the subtitles in Imvidu before you export the SRT file. So, a small hack to make subtitles easier to work with in your editing tool is to do two things:
- Edit the subtitle text and fix any mistakes you spot. This can save you loads of time as doing it in other video editing tools is usually a little more tedious
- Change the line length of the subtitles. This can be extremely tedious in a standard video editing tool.

Why auto generate subtitles before adding?
As you can imagine, auto generating the subtitles to add to your video makes life much easier. The alternative is painful, tedious, time consuming and manual work. This is usually how you would add subtitles video without the automation:
- Listen to the speech
- Type as you listen
- Reverse, play and pause continuously to catch up
- Go back and fix typos, omissions, mistakes
- Continuously try sync timing of audio and text
Trying to do this INSIDE a video editing tool makes the timing and syncing of the subtitles to the audio quite painful too, as that too is manual. You either have to work your way through the time line, editing each block in the track or use the settings to tediously try sync the time.
Imvidu removes this as auto syncs the timing of the text to the audio.
