- Upload a video or select an existing video from your projects
- To add subtitles automatically, click on ‘Generate Transcript’
- Depending on the length of your video, this can take from a few seconds to several minutes (generally takes roughly quarter the time of the video length, but can depend on the quality of the video also)
- Your subtitles will show up instantly when you preview your video
How to edit video subtitles
- To edit the subtitles (typo’s or replacing words), make sure you are in the ‘transcript editor’ tab
- Simply double click the word that you want to edit
- Deleting the text will remove the word from the subtitles (it won’t effect the time stamp) – only the visibility
- You can fix the typo by double clicking and typing in the replacement word
See this tutorial on how to edit subtitles

How to style the subtitles shown on the video
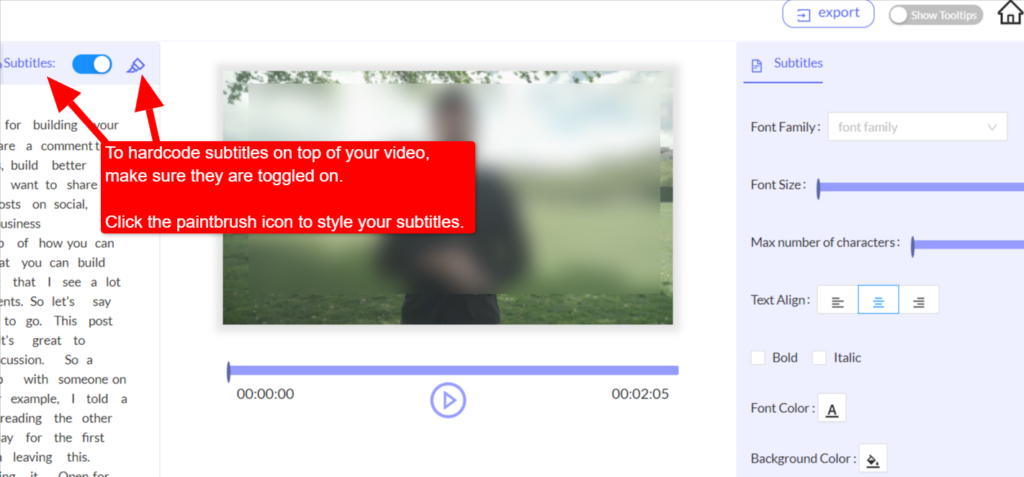
Click on the subtitles button to style your subtitles.
You can customize styles such as:
- Font
- Font size
- Number of characters (determines length of the subtitles shown)
- Colours
How to export video subtitles
By default, your subtitles will be hard coded (burnt) on top of your video. You can also download the subtitle file, if you want to upload subs for accessibility in other video hosting services (e.g. YouTube, Vimeo, Wistia etc).
To do so:
- Click on the ‘Preview and Export’ button
- Under the Text Exports section
- Click ‘Generate Subtitle and Transcript’ file
- You will have two options here
- Transcript file:
Download this if you want the raw transcription without any timestamps. All paragraph and markers will be visible in the downloaded file
- Subtitle file:
This file shows the timestamps alongside the captions. Download this so you can upload alongside your videos in other places on the internet!
Note: The styling of your subtitles is only visible on the videos you create, edit and export in Imvidu.